Local Voice Assistant
In this post, I will document my attempt to create a fast and responsive voice assistant on a Windows machine. This project is inspired by this video:
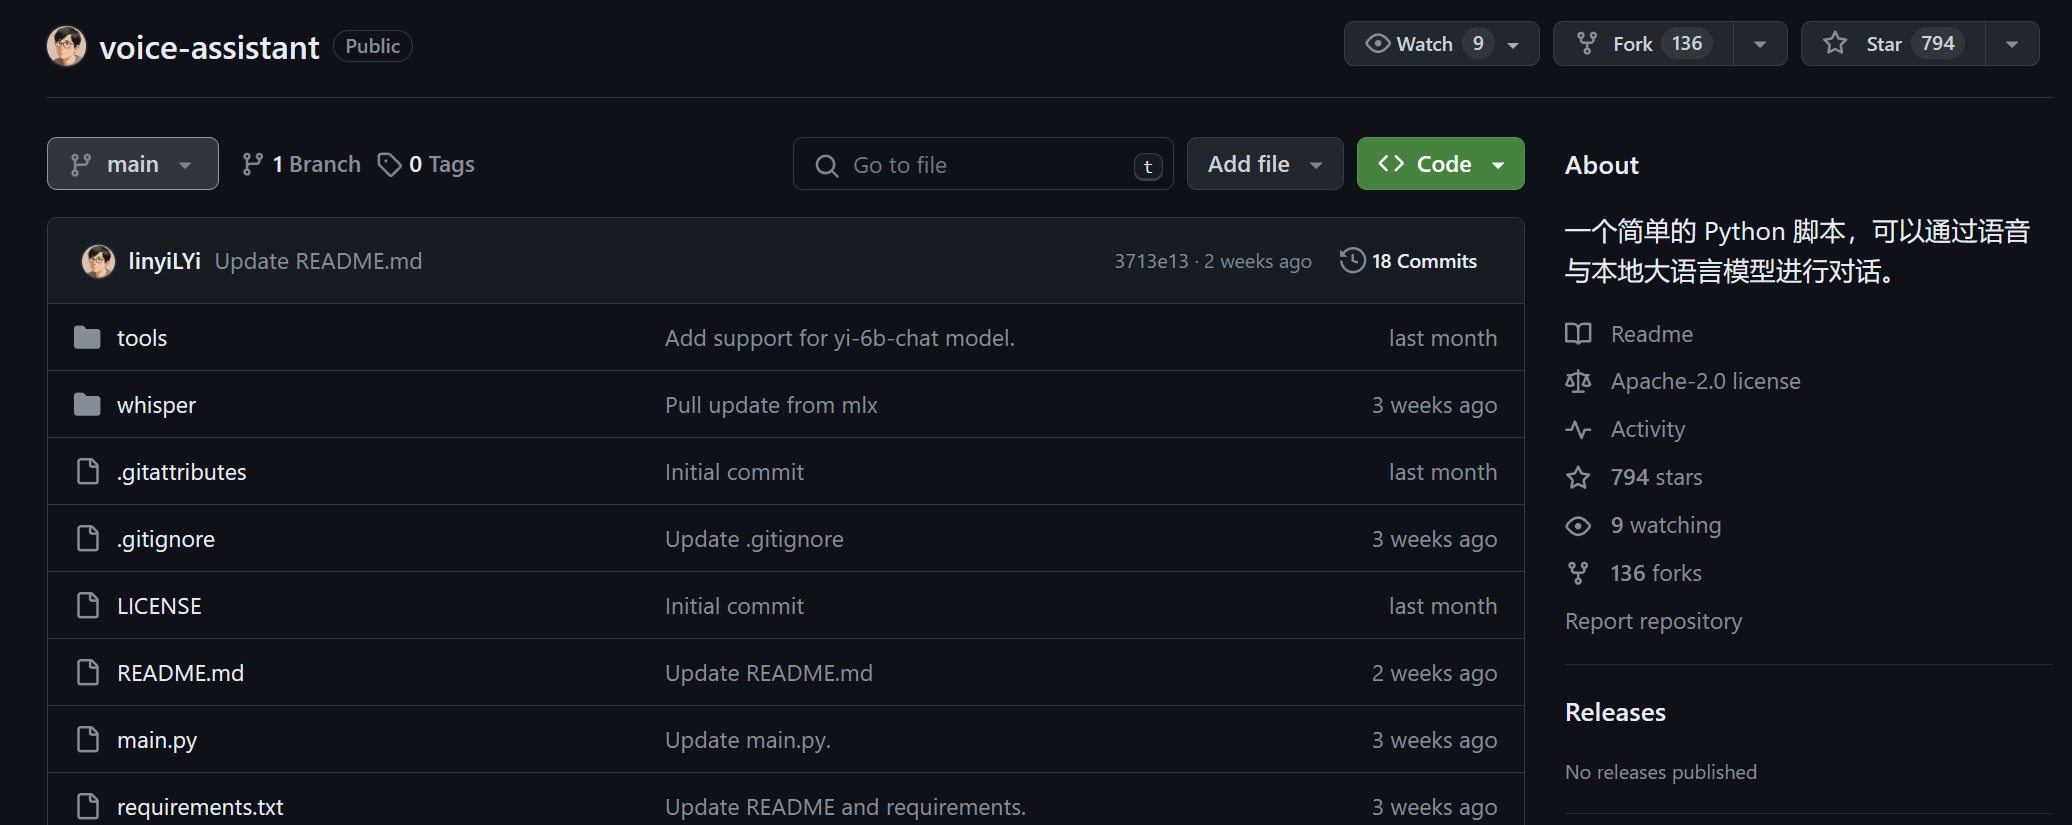
and this Github Repo:
As I have almost zero knowledge and experience with such a project, or AI for that matter. Let’s first look at what Lin Yi wanted to achieve.
一个简单的 Python 脚本,可以通过语音与本地大语言模型进行对话。本项目中 whisper 实现来自 mlx 官方示例库。大语言模型为零一万物的 Yi 模型,其中 Yi-34B-Chat 能力更强,显存空间允许的条件下推荐使用。
Specifics aside, it looks like our user interface is nothing but a python script.
- We connect to users via a voice front end,
- and to the backend ai (local) model.
Goal: Create a responsive windows compatible local voice assistant.
It should- understand voice command in Chinese and English, and output the transcript.
- respond in both voice and text.
- store conversations locally.
- This may also pave the way for my own custom voice keyboard. I'm tired of typing... To be honest...
That looks simple enough let’s. Let’s get cranking!
Step 1: Choosing a voice to text mechanism (Voice Typer)
The first sort of business seems to be to choose a.voice. Typer.
This sentense made zero sense didn’t it? That’s because I crossed my fingers and used Microsoft’s own Voice Typing tool kit. There were a few immediate problems.
- Using this toolkit meant that in the future if I wanted to support non-windows platforms I would need to find an alternative method
- You had to always press the little dictation symbol for it to start listening.
- It had quite bad recognition capabilities, and was not able to self correct.
I did a quick search for open source speech recognition, and quickly came across Openai’s Whisper. This immediately looked promising for a few reasons.
- It was open source
- It was by OpenAI
- It was also what LinYi used in his video!
The issue was, it appears that this api only takes audio files. So if I wanted this api to work, I have to figure out a way to save each conversation I had to an audio file.
Exploring Whisper
As it wasn’t apparent how to approach, as modern day programmers, time to refer to AI! Here’s a link to my original conversation with ChatGPT
1
2
3
4
5
6
7
8
9
10
11
12
13
14
15
16
17
18
19
20
21
22
23
24
25
26
27
28
29
30
31
32
33
34
35
36
37
import openai
import pyaudio
import speech_recognition as sr

# Initialize OpenAI API with your API key
openai.api_key = ""

# Create a speech recognizer
recognizer = sr.Recognizer()

def transcribe_audio(audio_data):
    try:
        # Transcribe the audio using Whisper API
        response = openai.Completion.create(
            engine="whisper",
            audio=audio_data,
            content_type="audio/wav",
        )
        return response.choices[0].text
    except Exception as e:
        print("Error transcribing audio:", str(e))
        return ""

def main():
    # Initialize audio stream
    with sr.Microphone() as source:
        print("Listening...")
        while True:
            try:
                audio_data = recognizer.listen(source)
                transcription = transcribe_audio(audio_data)
                print("You said:", transcription)
            except sr.WaitTimeoutError:
                pass

if __name__ == "__main__":
    main()
Anyways, running this gave us the error
1
2
3
4
5
6
7
8
9
10
11
(TakoVoiceAssistant) PS D:\Sandbox\AssistantTako> python .\main.py
Listening...
Error transcribing audio:

You tried to access openai.Completion, but this is no longer supported in openai>=1.0.0 - see the README at https://github.com/openai/openai-python for the API.

You can run `openai migrate` to automatically upgrade your codebase to use the 1.0.0 interface.

Alternatively, you can pin your installation to the old version, e.g. `pip install openai==0.28`

A detailed migration guide is available here: https://github.com/openai/openai-python/discussions/742
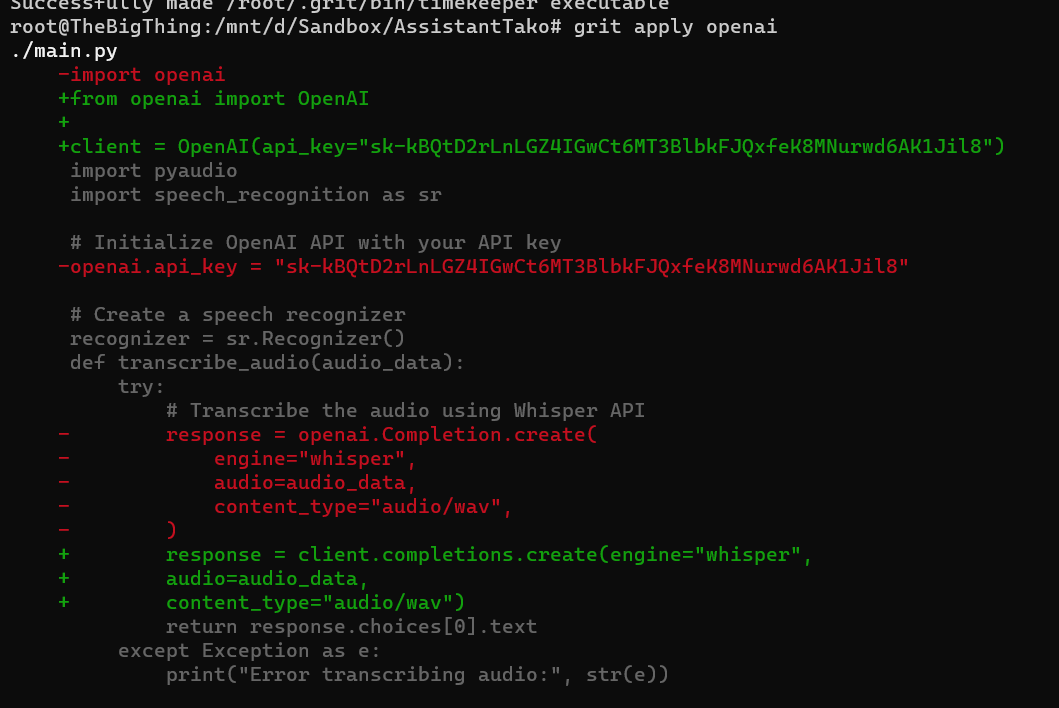
Apparently, we are using a deprecated API, but surprise surprise! OpenAi has us covered, all we needed to do was to upgrade to the new api, and guess what? It will fix our code for us!
Here’s the guide to do so on windows. Damn that is sexy.
Unfortunately, I did not take that approach, as I also used SpeechRecognition package. This package is no longer actively maintained and used older openAI apis. I may choose to maintain a fork myself in the future, but in the mean time, I’m pinning open ai to an older version.
1
pip install openai==0.28
After some messing around, I was able to have the script understand why I was saying.
1
2
3
4
5
6
7
8
9
10
11
12
13
14
15
16
17
18
19
20
21
22
23
24
25
26
27
28
29
30
31
32
33
34
35
36
37
38
39
40
41
42
43
44
45
46
47
48
49
50
51
52
53
54
55
56
57
58
59
60
61
62
63
import base64
import openai
from dotenv import load_dotenv
import os
import pyaudio
import speech_recognition as sr
import whisper

load_dotenv()
openai.api_key = os.getenv("OPENAI_API_KEY")

# Create a speech recognizer
recognizer = sr.Recognizer()

def transcribe_audio_whisperAPI(audio_data):
    try:
      # Convert the audio to FLAC format for Whisper API
        audio_data = audio_data.get_flac_data()

        # Encode the audio data as base64
        audio_data_base64 = base64.b64encode(audio_data).decode("utf-8")

        # Transcribe the audio using Whisper API
        response = openai.Completion.create(
            model="Whisper",
            prompt=f"Transcribe the following audio: \n{audio_data_base64}\n",
            content_type="text/plain",
        )

        return response.choices[0].text

    except Exception as e:
        print("Error transcribing audio:", str(e))
        return ""

def transcribe_audio_whisper_local(audio_data):
    try:
        # Transcribe the audio using whisper-offline
        response = recognizer.recognize_whisper(audio_data)
        response = recognizer.recognize_whisper(audio_data)
        print("Offline whisper thinks you said " + response)
        return response


    except Exception as e:
        print("Error transcribing audio:", str(e))
        return ""


def main():
    # Initialize audio stream
    with sr.Microphone() as source:
        print("Listening...")
        while True:
            try:
                audio_data = recognizer.listen(source)
                transcription = transcribe_audio_whisper_local(audio_data)
                print("You said:", transcription)
            except sr.WaitTimeoutError:
                pass

if __name__ == "__main__":
    main()
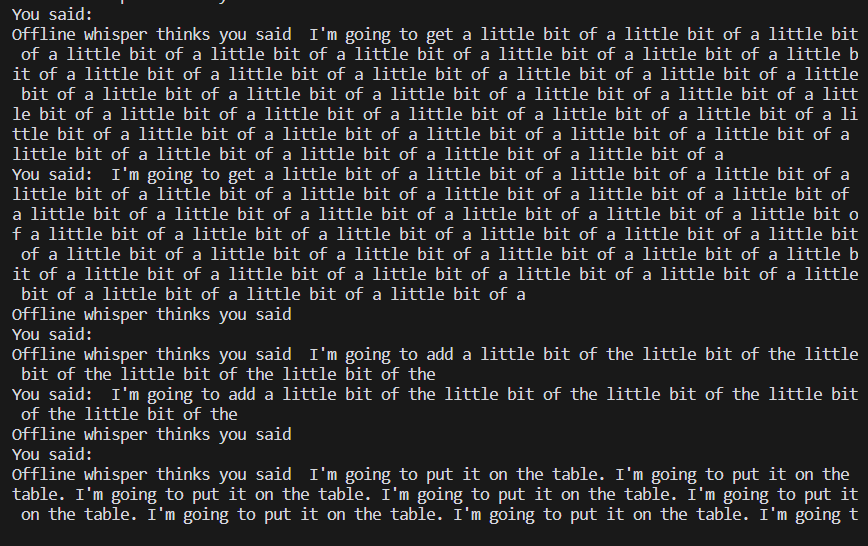
However, there was a small problem… It was picking up a bunch of nonesense when I wasn’t speaking.
Luckily for us, the doc had mentioned this.
# Increase threshold to decrease sensitivity, default is 300
recognizer.energy_threshold = 2000
I further configured the bot to only respond when it was targetted, through the use of keywords, much like Alexa.
Step 2: Generating response
The ultimate goal is to host a model locally, so that the entire assistant can run offline. However, to make things simple, let’s first start off by feeding this prompt to an OpenAI model.
This was really easy to do, just pipe the transcription to a chat model like gpt-3.5, and there you have it.
1
2
3
4
5
6
7
8
9
10
11
12
def generate_response_openai(transcription):
    try:
        # Generate response using OpenAI GPT-3.5 model with role description
        prompt = f"{config['role_desc']}\n{transcription}"
        response = openai.Completion.create(
            model="gpt-3.5-turbo-instruct",
            prompt=prompt,
        )
        return response.choices[0].text
    except Exception as e:
        print("Error generating response:", str(e))
        return ""
However, I quickly hit another roadblock. For some reason, the response returned by the models were never complete. 
Turns out the default token size was a measly 16, setting it to 2048 helpt resolve the issue.
1
2
3
4
5
 response = openai.Completion.create(
            model="gpt-3.5-turbo-instruct",
            prompt=prompt,
            max_tokens = 2048,
        )
Step 3: Connect the text response to a text to speech model
This is one of the more difficult parts. Apparently, TTS didn’t exist in the current version of the openai api. I decided against upgrading openai, because that would break the speech_recognition python pip package, and took a less beautiful approach — issue a request directly to that endpoint.
I wrote whatever response I got to a file called speech.mp3.
1
2
3
4
5
6
7
8
9
10
11
12
13
14
15
16
17
18
19
20
21
22
23
def generate_tts_response_openai(text):
    print("Generating tts response...")
    api_key = config["openai_api_key"]
    try:
        # Make a POST request to the /v1/audio/speech endpoint
        response = requests.post(
            "https://api.openai.com/v1/audio/speech",
            headers={
                "Authorization": f"Bearer {api_key}",
                "Content-Type": "application/json"
            },
            json={
                "model": "tts-1",
                "input": text,
                "voice": "alloy"
            }
        )
        if os.path.exists('speech.mp3'):
            os.remove('speech.mp3')

        # Save the TTS audio to a file
        with open('speech.mp3', 'wb') as file:
            file.write(response.content)
And used pygame to play the mp3 file. This is unorthodox. I know. But bear with me. We’ll likely update this in the future, as in my limited use, I’ve already came across multiple issues.
1
2
3
4
5
6
7
8
9
10
11
12
# Play the saved audio file
        pygame.init()
        pygame.mixer.init()
        pygame.mixer.music.load('speech.mp3')
        pygame.mixer.music.play()

        # Wait for the audio to finish playing
        while pygame.mixer.music.get_busy():
            pygame.time.Clock().tick(10)

        # Delete the audio file after playing
        os.remove('speech.mp3')
One of those issues was that I kept on running into a WinError, indicating that the file is constantly busy.
Error generating TTS response: [WinError 32] The process cannot access the file because it is being used by another process: 'speech.mp3'
Another fatal flaw in the current implementation is that sometimes the response is too long, which causes the mp3 file generation to become very long. This causes the assistant to respond in a less than timely manner.
But at this point, the barebone skeleton and functionality of this little application was all implemented. I felt like it was a good time to study other peoples’ codebase to see what ideas I can borrow.
Step 4: Learning from others
To recap, the current issues are
- Non-modularized code organization
- Questionable usage of pygame to play the mp3 media
- Outdated pip library speech_recognition that hinders openai api upgrade
- Speech_recognition often generating jibberish
- Long mp3 file generation time due to long responses
- File access error of the mp3 file due to busy pipeline
- A less than ideal UI
I had two sources I can immediately refer to, LinYi’s repo, and Leon.
Let’s start by modularizing our code.
Let’s review the overarching requiremetns. The assistant can take text and speech input. Speech input will be converted to text using Speech recognition. These input will be fed into a LLM model to generate a response. This response is in text, but can be inputted into a TTS model to produce speech. This personal assistant should support commandline interface and a pretty UI.
title: AIAssistant —
classDiagram
    UI <|-- CommandlineInterface
    UI <|-- GUI
    ui, call
    #1, Create new model(Hear) <implemnet model> hear
#2 create speechinputprocessor with <hear>
    UserInputProcessor <|-- TextInputProcessor
    UserInputProcessor <|-- SpeechInputProcessor
    SpeechInputProcessor : +model ProcessorModel(Whisper) new model (Hear)
    DataProcessor : +model ResponseModel
    class InputProcessor{
        +process_input(self, data)
    }
    class ResponseGenerator{
        +generate_response(self, data, model)
    }
#1 processor = TextInputProcessor List
2
processor = UserInputProcessor.create(config.model)
Step 5: Replacing online APIs with offline models
Btw, the link to this project repo is here


